Monday, January 10, 2011

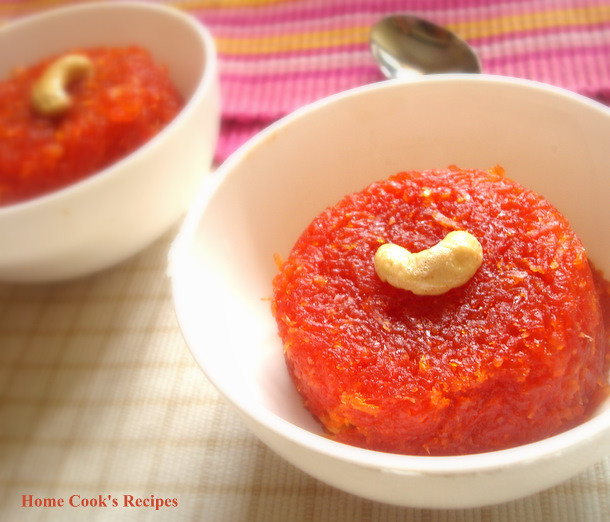
Gajar Ka Halwa

Kajar ka halwa

One of our Friend Anitha used to tell about Delhi Carrot and the halwa she makes with it. When i found some Delhi Carrots from street vendors in Tnagar, i could'nt stop me buying 1/2 kg. i repeatedly questioned the selling lady, whether this is carrot or radish. only after her confirmation i bought it. those carrots were in the colour of pinkish red. they are so lengthy too. i reserved the carrots for the weekend dessert.
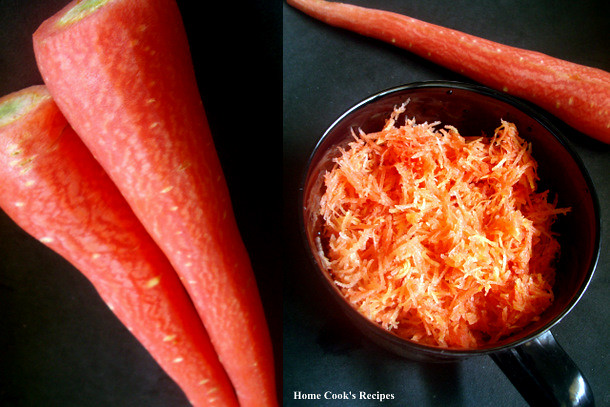
Delhi Carrot

Unfortunately, i did'nt have ghee on hand, but thats for good. This halwa came out beautifully and tasted Great without Ghee. if you dont believe me, do try it without ghee and find out. Even i did'nt add milk to this halwa. indeed it tasted Good. enough of me raving about my own creation.
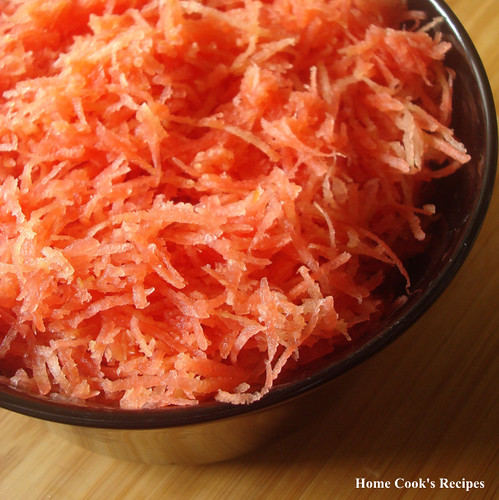
Delhi Carrot Grated

This is such a simple recipe with just three ingredients. 1/2 Kg of carrots could make only for two / three servings of carrot halwa.

Ingredients:
(Recipe for two dessert lovers)

Delhi Carrots                                                                                          1/2 kg.
line
Sugar                                                                                                      1/4 cup
line
Roasted Cashews                                                                                          5
line


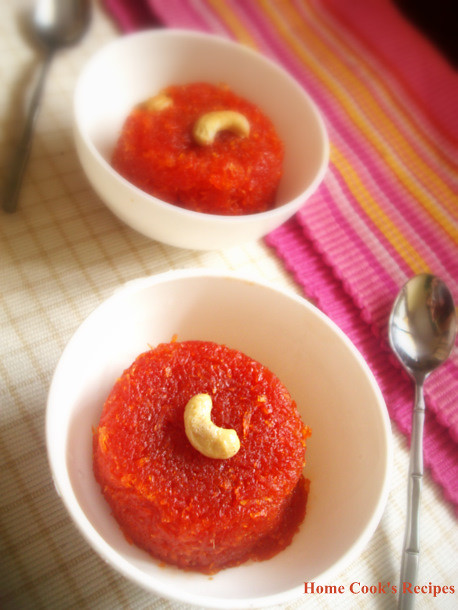
Delhi Carrot Halwa

Method:

Grate the Carrots finely.

Heat a Skillet or Pan, roast the cashews and keep aside.

In the same pan, add the grated carrots and roast them for a minute.

Add 1/4 cup of sugar to the pan and give a stir.  the sugar melts and the carrot has to be cooked in it.

Keep stirring in between for 8 - 10 minutes, till the water content is fully absorbed and the halwa comes together to the centre of the pan without sticking to the sides of the pan. Add roasted cashews and serve warm.
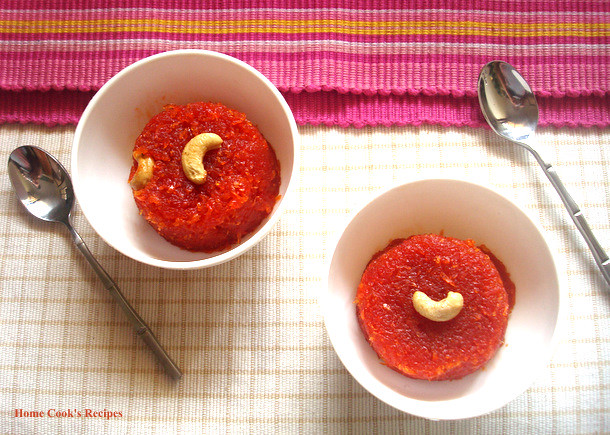

Gajar ka Halwa

Note: Use Delhi carrots for this vibrant colour. i did not use any food colour for this halwa. nor i did'nt do any photoshop works, to show this halwa bright!
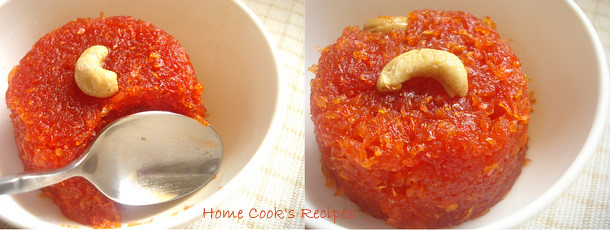
Low fat Gajar ka halwa

Serve the Halwa warm with a scoop of ice-cream.

* You can reduce sugar and add sweetened Khoa towards the end to make it rich.
* You can add Ghee, to make the halwa Fat-rich.
* You can add cashews, pista's at the end to make the halwa cholestrol-rich.

Wednesday, January 5, 2011

Chocolate Temptations Cookies

Wishing You All Very Very Happy New Year! Last decade had more for me, College, Marriage, Kid and learning at different stops of Life. One big thing i learnt in last decade is Cooking. When i got married in 2004, i knew to make Maggi Noodles, Bread Upma, Pizza's with store bought Pizza Base. In the last 6 years, Cooking turned to be a big Passion for me. as a result you are reading this Food Blog:)

Home made Cookies

Okay, what's my New Year Resolution? Its not just for this Year, as i think, it will be in long term, for the next decade atleast. One is to feed the Family Healthier way. Second, I should Think several times before taking important decisions. Third, to enjoy every bit of Life.  in simple, iam trying to correct the mistakes of last decade.

If you ask me what happened to my last Year's Resolution, Yes i was able to follow it for 6 months atleast.
Last Year's Resolutions were, not to expect other hands for help.( it purposely meant, that i should do all my house-held work without maid). I survived without domestic help for 6 months. later i was pushed to have a helper, as hubby went abroad, and i needed someone to looks after the kid, when i had to look after outside work.

Double Chocolate Cookie

Next was to reduce maida, oil in cooking.  and i have reduced the oil consumption from 1 and half litre a month to 1 litre. but could'nt reduce maida, as iam experimenting on baking mode, maida/APF becomes  must for the experiments.

Coming to the Chocolate Temptations Cookies, I tried it out, from my Cakes and Bakes Book. I just followed the recipe. It turned out fabulous and vanished in just two days. My Son and I loved it!

Ingredients: (yields 24 - 30 cookies)

Butter - 1/2 cup

Semi-sweet Chocolate / Dark Chocolate - 225 gms

Chocolate Chips - 50 gms

Strong Coffee Powder - 1 tsp

Eggs - 2

Demarara Sugar - 3/4 cup

All Purpose flour / Maida  - 1 and 1/3 cup

Baking Powder - 1/4 tsp

Salt - a pinch

Almond extract - 2 tsp

Hazelnut, Brazil nuts, walnuts- 2/3 cup (optional)


To Decorate the Cookies:

40 gms of dark chocolate

Icing Sugar - 2 tbsp

Butter - 1/2 tsp

Milk - 1 tbsp


Method:

1. Pre-Heat the oven to 180C. Line a Tray with Butter Paper and Grease it with butter.

2. If you have Double Boiler, Melt the 225gms of chocolate, Butter  along with Coffee.
               (or)
Boil 2 cup's of water in a bowl and simmer it.  find another fitting bowl, that could sit over the boiling water bowl and place it over the boiling water bowl. add 225gms of dark chocolate, 1/2 cup butter and Coffee to the bowl and melt them together.

3. Beat 2 eggs in a bowl until fluffy. whisk in sugar gradually till the  mix, turns thicker. Remove the chocolate melted, and add to the egg-sugar whisked. Mix them all together, till they are mixed well and becomes Thicker.

4. Sift the Floour, Baking powder, salt  into a bowl. add the melted chocolate-egg mix to the flour and give a mix with spatula or wooden spoon. add chocolate chips, almond extract and nuts and give a mix to get the cookie dough.

5. Spoon in the cookie dough over the greased butter paper and bake in the pre-heated oven for 15-17 minutes. Transfer the cookies to wire-wrack once its baked.

Chocolate Cookies

To Decorate the Cookies:

With the help of double boiler or in double boiling method(refer step 2), melt the chocolate, butter and icing sugar together. once the chocolate gets melted and mix turns thick, add milk to make the mix thinner.
Pour the mix to a Piping bag and pipe lines over the cookies.

* I used Milk cover instead of Piping Bag.
* I did a foolishness of using Demarara Sugar instead of Icing sugar and it did'nt melt and struck in between while piping chocolate lines.


Tuesday, December 28, 2010

Onion Mushroom Quiche with Wheat Crust

Quiche is a baked dish of French Cuisine. It has a crust as the base and the filling made with milk, eggs and cheese is baked over the crust. This could be the introduction, that i can give you based on wiki. but my definition to it is, Quiche will taste like a Rich Egg Omelette. Yes The filling in the quiche normally has eggs, milk and cheese which gives the omelette taste. But this Onion Mushroom Quiche Tasted the best, with spring onions in it. the butter infused mushroom, onions and spring onions makes this Onion Mushroom quiche an Unbeatable One.

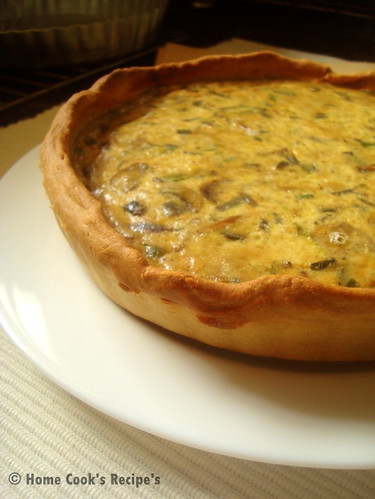
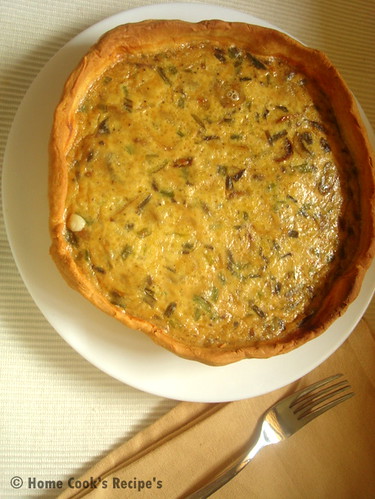
Mushroom Quiche

Quiche, somehow i got fascinated by the name and the way it looked. and it leaded me to try my hands on it six months back. but i made the pie crust with wheat flour, which came out crispier and without any guilt, we were able to eat the quiche. Last Weekend, i decided to prepare the Mushroom Quiche with All Purpose Flour/Maida, and it came out as per its law. very flaky and acted as a soft base to mushroom filling. But I like the Wheat Crust, which was crisp and nice. and so you see me blogging this quiche after 6 months.

Ingredients for the Wheat Crust:

Wheat Flour - 2 cup's + 2 tbsp(for dusting)
Cold Butter - 100 gms
Salt - a pinch
Baking Powder - 1/4 tsp
Ice water - 1/2 cup

Quiche


How to Prepare the Crust/ Pie Shell?

Have Wheat flour in a wide bowl. Add salt and baking powder to the wheat flour and mix well. Slice the cold butter into thin slices. add to the wheat flour and mix well, so that all looks like Bread Crumbs. After that add chilled water and mix all the flour together to form a dough. Basic rule here is to not knead the dough too much, because kneading may reduce the gluten content in the dough. hence you wont get any flaky crust. After kneading them to a pilable dough, wrap the dough with a cling film and refrigerate for atleast 30min to 2 hrs. Just before baking the pie crust, remove them from fridge and let it sit at room temperature for 5-10 mins.

Pre-Heat the Oven at 180C. Roll the Crust Dough by dusting some flour. roll them out evenly. then line it over the Tart Pan. Leave enough heights for the shell, as it may shrink after baking. Trim the extra dough with a kitchen scissor. Line the Shell with a aluminium foil sheet. add uncooked rice or some Rajma or Chickpeas to give some weight over the shell, so that the crust dont raise, while baking and hence it gets evenly baked.

Bake the Pie crust for about 12-15 minutes at 250C in the bottom wrack of the oven. after baking the crust to golden colour, remove the foil sheet with the rice or some pulses carefully. let the pie shell rest in wire wrack.

Ingredients for the Filling:

Mushroom - 200 gms
Onions - 2
Spring Onions (Green Part) - 1 cup (chopped)

Butter - 2 tbsp
Pepper Powder - 1 tsp
Salt to taste

Eggs- 3
Milk - 1 cup
Cheese - 2 tbsp grated [Mozarella or Cheddar cheese]

* I added comparitively less cheese, but usually the recipe will call for atleast 1/4 of cheese.

Quiche

How to Prepare the Filling?

Heat Butter in a Pan, add chopped onion and fry it. then add chopped mushroom and spring onions and saute them along. add salt to taste and pepper powder and give a mix. Reduce the flame and close the pan with its lid and let it rest in slow flame for about 5 minutes. This is to make the mushroom mix absorb the flavour of butter.

Beat the Eggs and add 1 cup of milk to it and mix well. also add cheese and give a mix.

Assembling the filling over the piw crust:

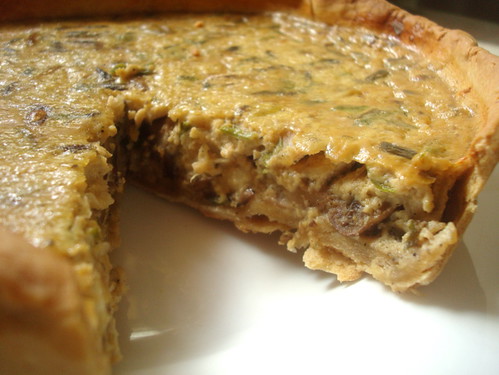
Take the Baked Pie crsut and layer it with the onion mushroom mix. then add milk+egg filling over the mushroom's. Now carefully transfer to the oven's middle wrack and bake the Quiche at 180C for about 40 mins.

After 40 minutes, insert a toothpick in the centre of the quiche and check whether it comes out clean, to know, its fully baked. if its not baked, bake it for another 5 minutes.

After baking, remove them from oven and let it rest for 5 mins and them remove the quiche from tha tart pan, to serve.
Related Posts Plugin for WordPress, Blogger...