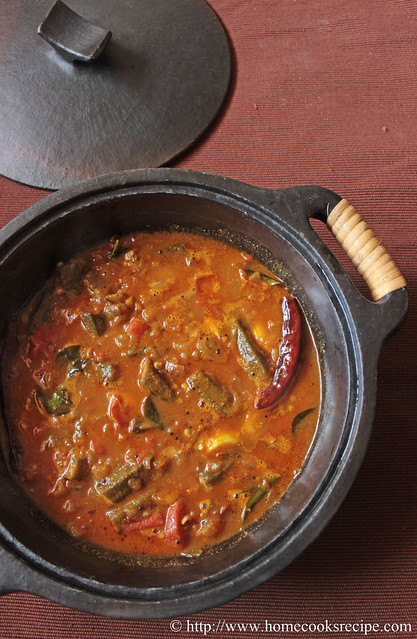
Watching the last match of sachin was very emotional. My grand father, uncle and brother are hard core cricket fans at home. i was left with no other option than joining them in cheering for Team India. I remember the days, when my grand father listens to cricket commentary in radio and also the days watching match in television munching snacks like seedai and boiled groundnuts. Those were the days sachin started to play. i started watching cricket in tendulkar era. it was also nice to watch the last match with my son. he kept on asking, why he is retiring, wont he touch the bat again and all.
Monday, November 18, 2013
Tuesday, November 5, 2013
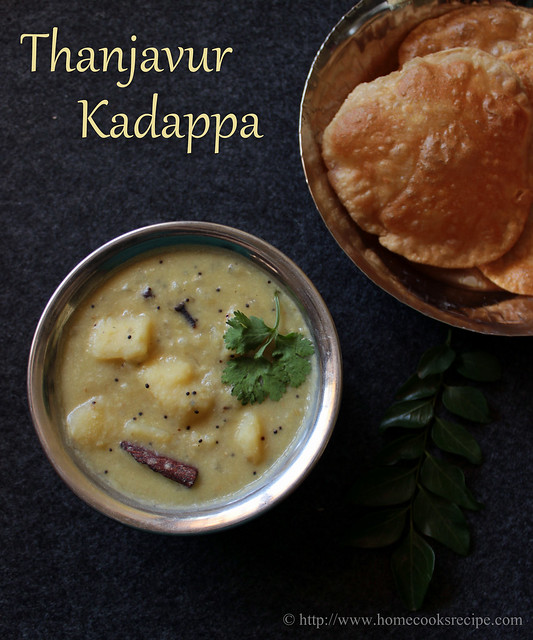
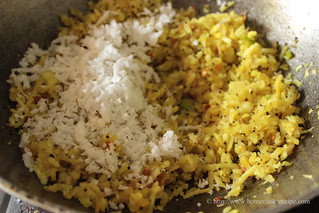
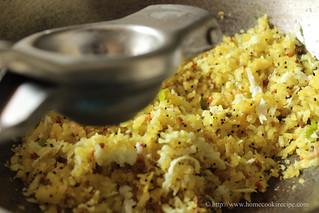
Thanjavur Kadappa ~ Potato side dish for poori, idly and dosa
posted under
side dish for idli-dosa
The Best Tamizh food can be tasted in Thanjavur belt. be it kumbakonam for authentic tamil food or a little andhra influenced trichy food. Thanjavur is known for traditional tamilian food. No wonder as it remained chola dynasty's capital when kaveri river was flowing undisturbed. Thanjavur was once Rice bowl of Tamil nadu. now deprived of water, agricultural lands are converted into plots and layouts.
Thursday, October 24, 2013
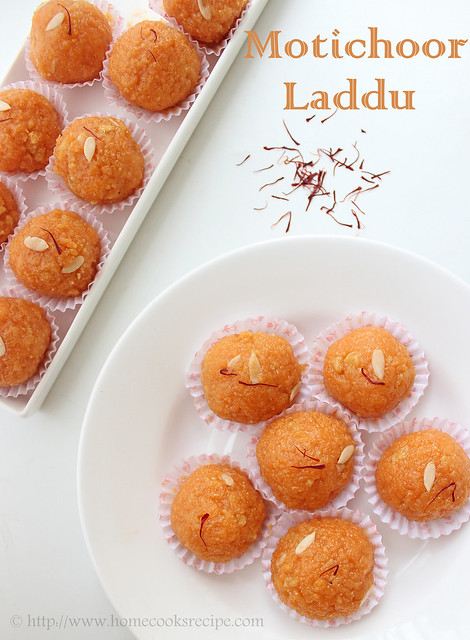
Motichoor ladoo recipe
posted under
Besan Flour,
Diwali Sweets,
Sweets
Monday, October 21, 2013
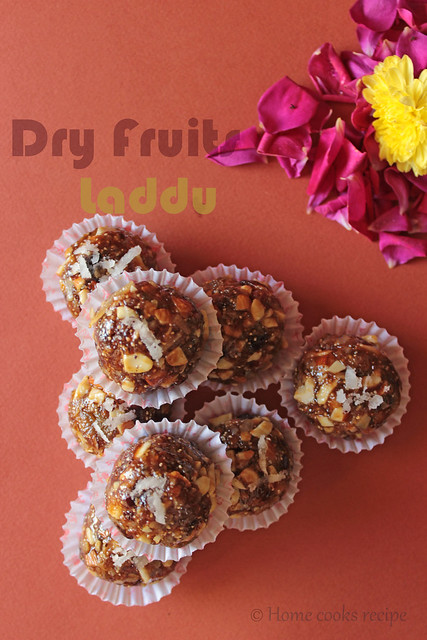
Dry Fruits Laddu
posted under
Diwali Sweets,
Sweets
Dry fruits laddu is also known as Antina unde in karnataka. It is also prepared in maharashtra for krishna jayanthi. When we were in bangalore, we used to buy these laddu's quite often. Me and hubby will be guessing the ingredients in the laddu one be one. We both love this laddu a lot. As it is not very much available in Chennai, i thought of making these healthy laddus for this diwali.
Wednesday, October 9, 2013
Monday, September 30, 2013
Pavakkai poriyal ~ Bitter gourd stir fry
posted under
Bitter gourd
My kiddo boy had his quarterly leave for the past 2 weeks, which made me stay away from blogging. My boy suddenly got interested to learn cooking during this holidays. maybe it could be because of junior master chef. We both had fun time in kitchen, cutting veggies, cracking eggs, making half boils, etc. He tasted the food for salt and spiciness and gave a good verdict! did i tell you, he is very much interested in styling the food and clicking pictures.
Thursday, August 22, 2013
Monday, August 12, 2013
Mushroom Fried Rice
posted under
Indo - Chinese,
Mushroom,
Rice,
Variety Rice
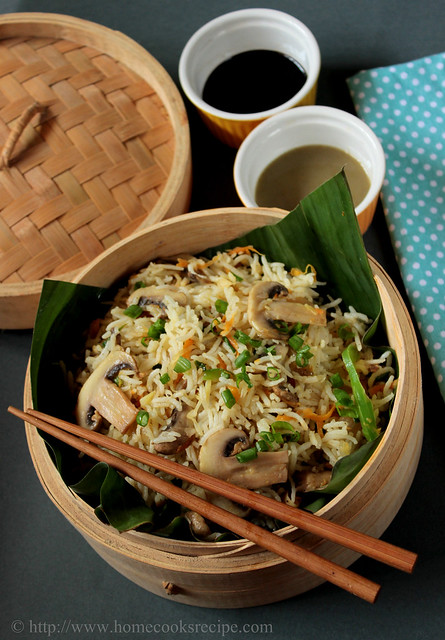
Today i prepared this Mushroom fried rice to pack for lunch. My son and hubby loves to take fried rice for lunch. even i find it easy to make. i also added vegetables along with mushroom, so that my son eats vegetables. Finding different variety rice to pack for lunch box is becoming difficult for me. hope to share more lunch box recipes here soon.
Tuesday, August 6, 2013
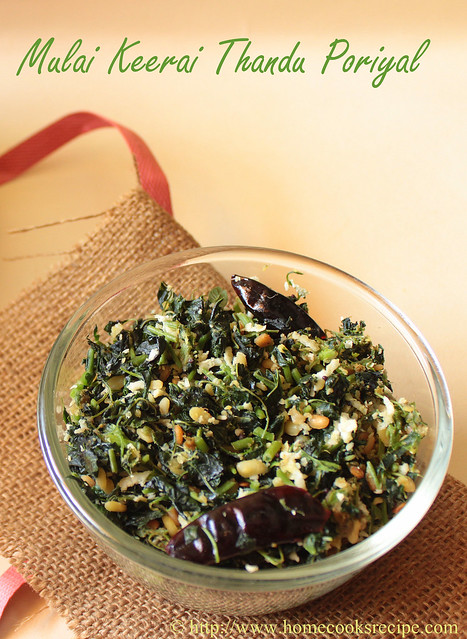
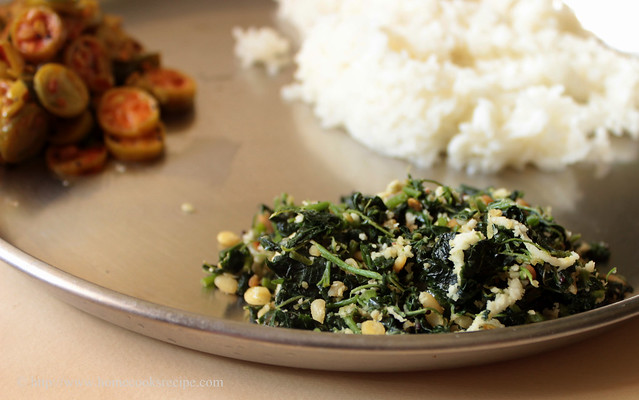
Keerai Thandu Poriyal ~ Mulai Keerai Poriyal
There are many ways to prepare greens. I remember my great grand mom cooking different types of kootu with keerai. I tried making mulai keerai poriyal along with its stem and added moong dal for a variation. we liked it a lot. It tasted good when mixed with rice and little ghee. The trick is to use only the tender part of the stem rather hard stem. Then you should first saute and cook the stem before adding the greens. this way, we can cook the greens and stem evenly. Do try this nutritious as well as healthy poriyal. You will like it for sure.
Ingredients:
Mulai Keerai - 1 bunch
Moong dal - 2 tsp's
Grated coconut - 2 tsp's
Onion - 1 finely chopped (optional)
Salt to taste
For tempering:
Oil - 1 tsp
Mustard - 1/2 tsp
Split urad dal - 1/2 tsp
Dry red chilly - 2 (broken)
Method:
Soak moong dal in water for about 30 minutes. drain the water from moong dal and set the dal aside.
Clean and seperate the mulai keerai from its stem. discard the bottom part of the stem, which will be hard.
just select the tender stem, wash it thoroughly and chop them finely and set aside.
Wash the mulai keerai leaves seperately twice or thrice and chop it finely and set aside.
Heat a pan, add 1 tsp oil, add mustard. let it splutter. then add split urad dal and broken dry red chilly. saute and add finely chopped onion and saute it till it turns translucent.
Next add the finely chopped stem and mix well with the onions. let the stem get cooked for about 2-3 minutes. Then add the finely chopped greens and mix well. soon the greens get cooked in a minute or two.
Finally add the drained moong dal and the grated coconut. Mix well.
Remove from the flame and transfer the poriyal to a serving bowl.
Serve along with Rice and Sambhar.
Notes:
Adding onion and moong dal is optional.
Never cook the greens for more than 5 minutes. it may loose all the nutrition. so just let 2-3 minutes and remove from flame.
Friday, August 2, 2013
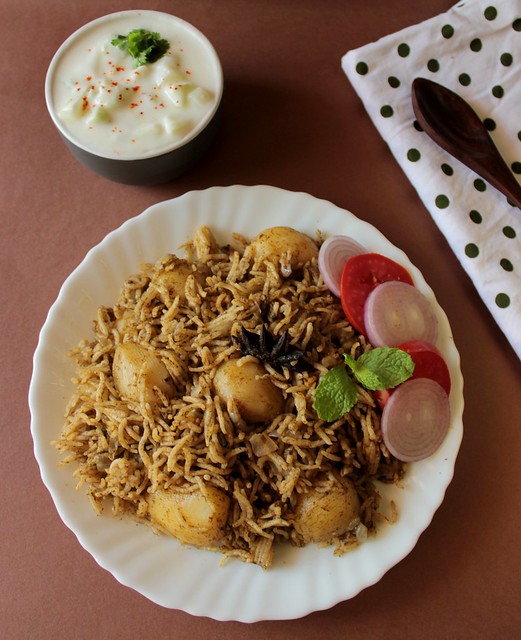
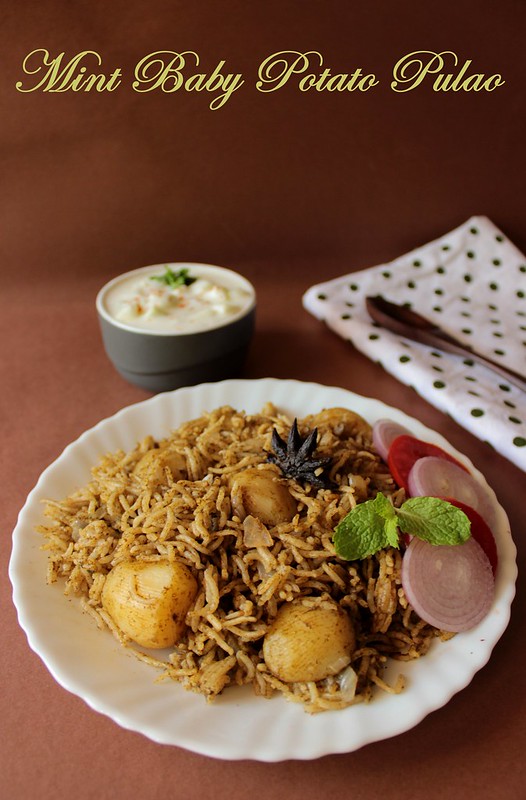
Mint Baby Potato Pulao
posted under
Greens,
Lunch box,
Mint,
Variety Rice
I made this Mint Baby Potato Pulao for Yesterday's Lunch Box. I am trying to find out different variety rice recipes for my son as he just started to have lunch at school. We all liked this pulao and that made me to click pictures of my share of lunch to share it with you all.
It is very good to eat pudhina. as it is the best for our digestive system. Making kids eat pudhina is difficult. Kids will love to eat pudhina rice when done in this way. just add 1 or 1/2 green chilly, so that kids may not find this rice spicy.
Mint Baby Potato Pulao Recipe
 Prep Time: 15 mins
Cooking Time: 15 mins
Serves: 2
Recipe Cuisine: Indian
Recipe Type: Greens
Ingredients:Serves: 2
Recipe Cuisine: Indian
Recipe Type: Greens
Mint / Pudhina Leaves - 2 cup's / 1 bunch
Baby Potatoes - 10
Basmati Rice - 1 cup / 200 gms
Onion - 1
Tomato - 1
Ginger Garlic Paste - 1 tbsp
Green Chilly - 2
Lemon juice - 1/2 tsp
Ghee - 1 tbsp
Cinnamon stick - 1'inch size
Cloves - 2
Bay Leaf - 1
Star Anise - 1
Method:
Peel the skin of baby potatoes and cut them into half. cutting into half helps in pressure cooking the potatoes fast. prick the baby potatoes with fork and keep it aside.
Soak Basmati Rice in water for about 15 mins.
Clean the Pudhina / Mint leaves and wash in water for 3 times. Then drain the water and add it to mixie jar. add one chopped tomato and 2 green chilly. Grind into a smooth paste. add 1 or 2 tbsp of water to help grinding.
Heat ghee in pressure cooker, add cinnamon, cloves, bay leaf and star anise. Then add Chopped onions and saute it well, till the onions turns into light golden color. Add in the Ginger garlic paste and saute along with onions for a minute till the raw smell of ginger and garlic leaves off.
Next add in the baby potatoes and mix well with the onions. Let the baby potatoes sauteed for 1 or 2 minutes in medium flame.
Now add the grounded pudhina, chilly and tomato paste to the pressure cooker and mix well with the onions and baby potatoes.
Add 1 and half cup's of water and let it boil. then add soaked and drained basmati rice to the pressure cooker. Close the cooker with it's lid and put on the weight. In High flame, allow the pulao to get cooked for exactly 2 whistles. then switch off the flame and wait till the pressure knob comes down.
You can also Pressure cook other way by just closing the pressure cooker with it lid. no need to put on the weight. In medium flame allow the pulao to cook exactly for 12 minutes.
Serve this Mint Baby Potato Pulao with onion or cucumber raita.
You can add other vegetables like green peas or baby corn.
Wednesday, July 31, 2013
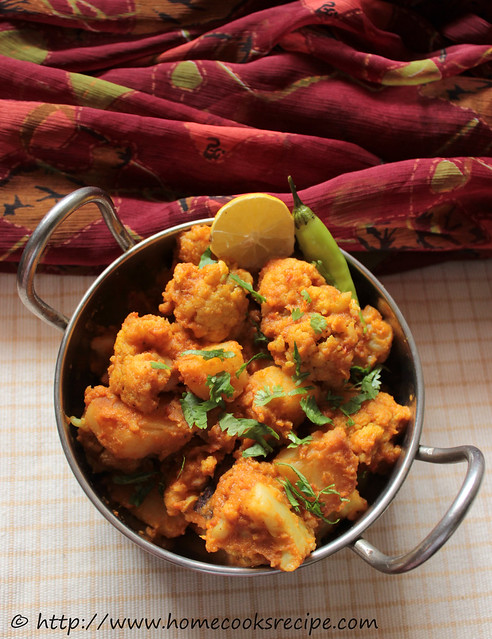
Aloo Gobi Masala
posted under
Aloo,
Cauliflower,
Side Dishes For Chapathi
Getting the fear of death for a moment and then just going ahead with day to day life is not easy. This is what i experienced day before yesterday. I was walking to school to pickup my son. I carefully watched for the vehicles and started crossing a junction. a police car which just passed through, took a reverse and hit me! BANG! I was clueless and fell down. i thought, everything is over and my main thought at that moment was, what happens to my son without me..writing these lines makes me nervous again. Luckily someone(Thank You my Life Saver)shouted and the Police Car(Innova) stopped. Fortunately I escaped with just small scratches on my feet! The force at the Innova hit me, shocked me to the core. My heart was racing like anything. I even questioned the cop on how he took reverse. Police person apologized, got me some water and dropped me at school. It took almost a day to get back to normal. Lessons Learned: Life and Time is Precious. and most importantly to be Very Cautious in crossing roads.
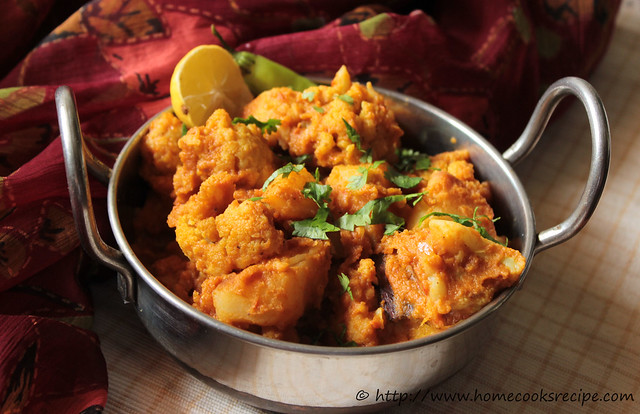
Aloo Gobi is a favorite combination for many. Yesterday i tried aloo gobi masala for a change. it came out finger lickingly delicious. I made chapathi and cabbage rice for lunch. this aloo gobi masala went very well with cabbage rice. so it will go well with vegetable pulao or with cumin rice.
Prep Time: 10 mins
Cauliflower florets - 1 cup (florets of 1 small cauliflower)
Potatoes - 2
Onions - 1
Tomatoes - 2
Ginger-Garlic paste - 2 tsp's
Oil - 2 tbsp's
Cinnamon stick - 1'inch size
Cloves - 2
Turmeric powder - a pinch
Chilly powder - 2tsp
Corriander powder - 2 tsp's
Kitchen king masala / Garam masala - 1 tsp
Method:
Peel the skin of potatoes and chop them into big chunks. clean the cauliflower florets and wash in cold water for 2 or 3 times.
Just chop the onions and grind into a smooth paste and set aside. chop the tomatoes and grind into a smooth puree and set aside.
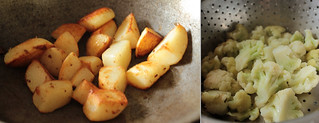
Heat a pan, add 1 tbsp oil, add the chopped potatoes and shallow fry it for almost 5-7 minutes in medium flame, till the potatoes get roasted well. Boil 2 cup's of water, add the cauliflower florets to it. let it boil for 3 - 4 minutes and drain the water. set the potatoes and cauliflower aside.
Heat another pan, add 1 tbsp of oil, add cinnamon and cloves. to the pan, first add the grounded onion paste and saute for about 2-3 minutes, till the raw smell of the onion goes off. then add ginger garlic paste and saute for another one minute. Next add the tomato puree and mix well with the onions.
Add turmeric powder, chilly powder, corriander powder and garam masala. Mix well all together in the pan. let it cook for 2 more minutes, till they become little dry.
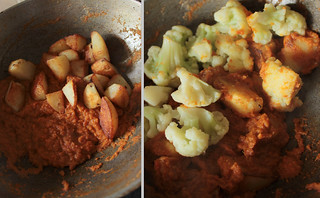
Now add the shallow fried potatoes and blanched cauliflower to the pan and mix well with the masala. Finally add chopped corriander leaves and transfer the aloo gobi masala to a serving bowl.
Serve with Cumin rice or veg pulao or with roti or chapathi.
Notes:
If you want the masala to be like gravy add very little water and let it boil.
You can also add 1 tsp of fresh cream, to make the masala rich.
Aloo Gobi Masala
Prep Time: 10 mins
Cooking Time: 20 mins
Serves: 2
Recipe Cuisine: Indian
Recipe Type: Curry
Ingredients:Serves: 2
Recipe Cuisine: Indian
Recipe Type: Curry
Cauliflower florets - 1 cup (florets of 1 small cauliflower)
Potatoes - 2
Onions - 1
Tomatoes - 2
Ginger-Garlic paste - 2 tsp's
Oil - 2 tbsp's
Cinnamon stick - 1'inch size
Cloves - 2
Turmeric powder - a pinch
Chilly powder - 2tsp
Corriander powder - 2 tsp's
Kitchen king masala / Garam masala - 1 tsp
Method:
Peel the skin of potatoes and chop them into big chunks. clean the cauliflower florets and wash in cold water for 2 or 3 times.
Just chop the onions and grind into a smooth paste and set aside. chop the tomatoes and grind into a smooth puree and set aside.
Heat another pan, add 1 tbsp of oil, add cinnamon and cloves. to the pan, first add the grounded onion paste and saute for about 2-3 minutes, till the raw smell of the onion goes off. then add ginger garlic paste and saute for another one minute. Next add the tomato puree and mix well with the onions.
Add turmeric powder, chilly powder, corriander powder and garam masala. Mix well all together in the pan. let it cook for 2 more minutes, till they become little dry.
Now add the shallow fried potatoes and blanched cauliflower to the pan and mix well with the masala. Finally add chopped corriander leaves and transfer the aloo gobi masala to a serving bowl.
Serve with Cumin rice or veg pulao or with roti or chapathi.
Notes:
If you want the masala to be like gravy add very little water and let it boil.
You can also add 1 tsp of fresh cream, to make the masala rich.
Monday, July 22, 2013
Vazhakkai podimas
posted under
Poriyal
I always cook vazhakkai roast and vazhakkai kuzhambu. For a change i wanted to try podimas recipe. i have already made potato podimas and we like it lot. As i pack lunch for my hubby and to my son, cooking a proper meal with sambhar, rasam and poriyal are shifted to weekends as pulao,chapathi and sabzi took over on weekdays.
Vazhakkai podimas Recipe
Prep Time: 15 mins Cooking Time: 05 mins
Serves: 2
Recipe Cuisine: Indian
Recipe Type: Sidedish
Ingredients:Serves: 2
Recipe Cuisine: Indian
Recipe Type: Sidedish
Raw banana / Vazhakkai - 1
Oil - 2 tsp's
Mustard - 1/2 tsp
Split urad dal - 1 tsp
Green chilli - 1
Ginger - 1 ' inch size
Grated coconut - 1/4 cup
Turmeric - a pinch
Lemon juice - 1/2 tsp
Method:
Pressure cook the raw banana for up to 2 whistles exactly.
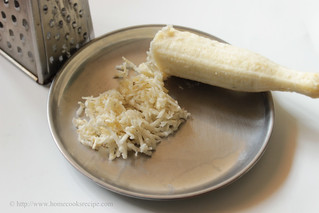
Remove the skin and Grate it and set aside.
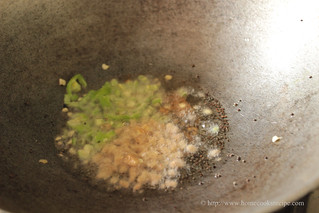
In a Pan, heat oil, add mustard and let it splutter, add urad dal and let it turn into golden color. then add finely chopped green chilly and ginger to the pan and roast.
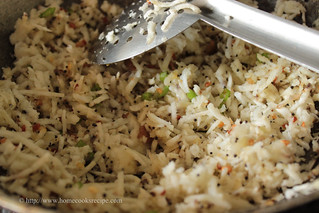
Then add the grated raw banana to the pan and mix well.
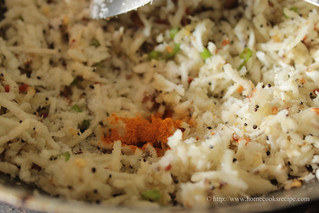
Add salt and turmeric powder and mix well.
Add add the grated coconut and give a mix.
Finally add 1/2 tsp of lemon juice and mix. garnish with curry leaves and corriander leaves. Transfer the podimas to a serving bowl.
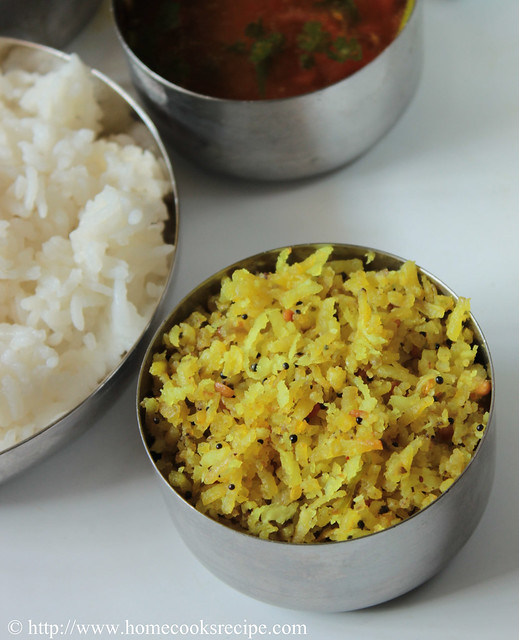
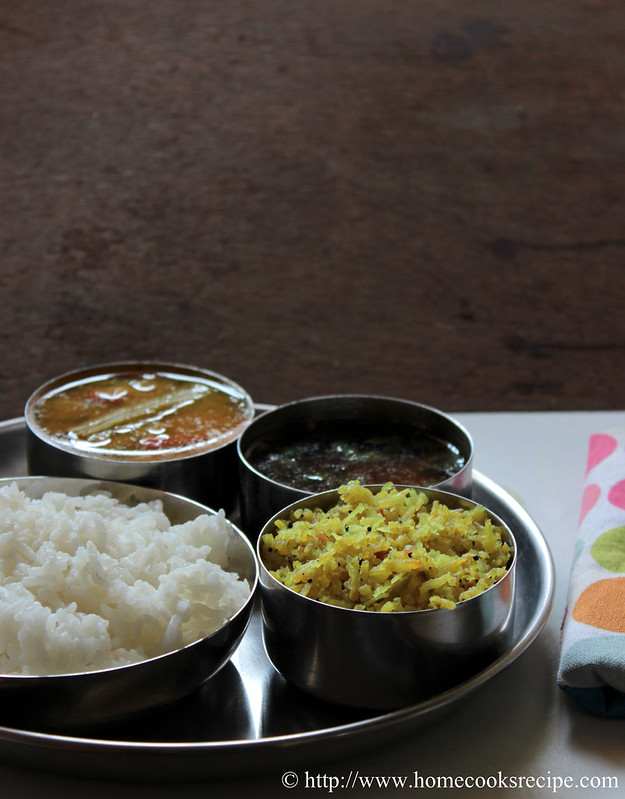
Picture clicked by my Son!!! He himself asked me a plate and kept all these bowls and shot it!
Serve along with rice, sambhar and rasam.
Friday, July 19, 2013
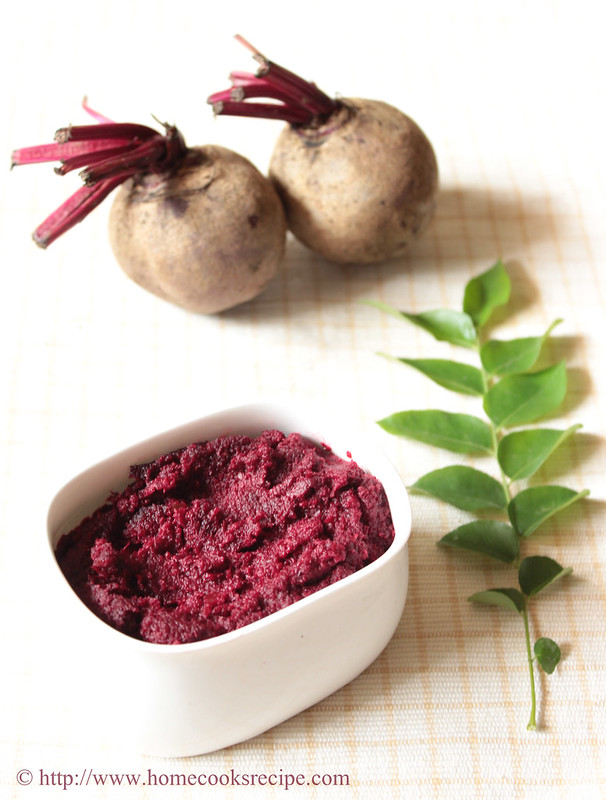
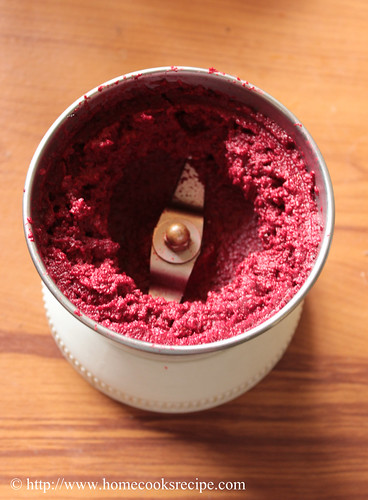
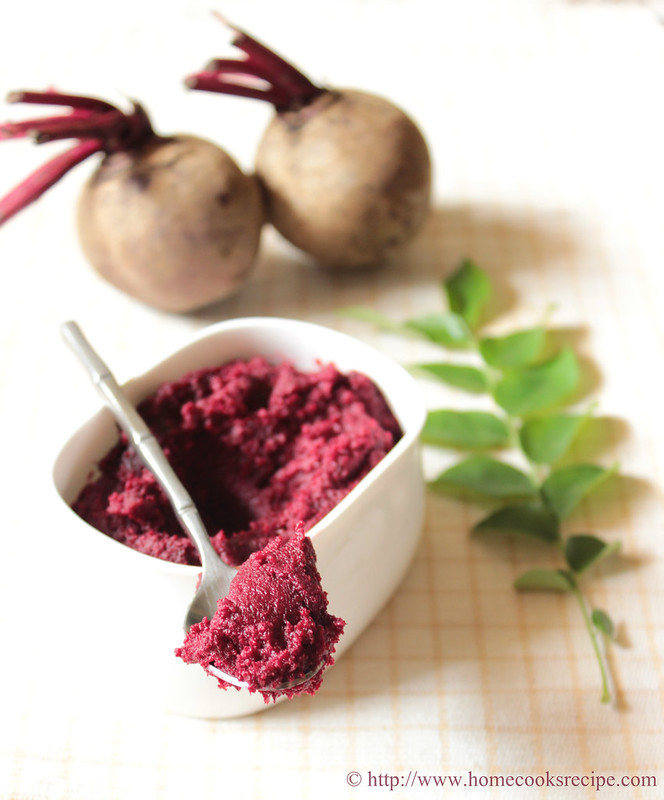
Beetroot Chutney ~ Thuvayal
I love to eat beetroot either in pachadi or in kootu. i hate to cook stir fry with it. somehow i never liked the bland taste in it. when my friend suggested me to try this thuvayal recipe. i tried and liked it very much. i like to eat my thuvayal mixed with rice. also like to have as a side to rasam rice. do try this, if you like spicy thuvayal.
Ingredients:
Beetroot - 2
Oil - 1/2 tsp + 2 tsp's
Urad dal - 1 tbsp
Dry red chilly - 3 or 5
Grated coconut - 1 tbsp
Tamarind - a small bit
Method:
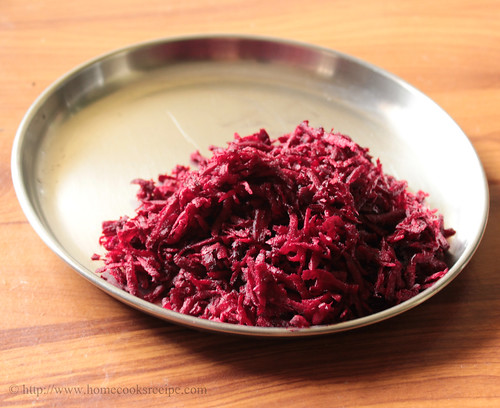
Wash the beetroot and peel the skin. Grate the beetroot and set it aside.
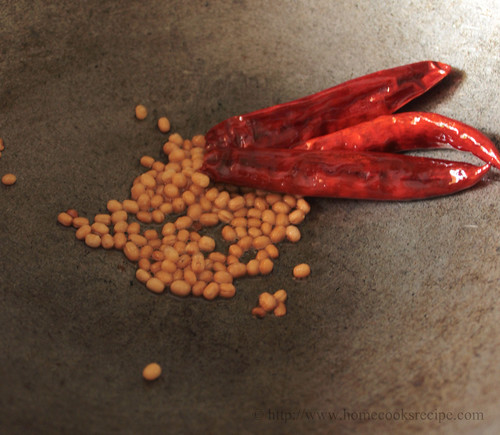
In a pan, add 1/2 tsp of oil, then add in the urad dal and dry red chilly. saute it, till the urad dal turns into golden color.
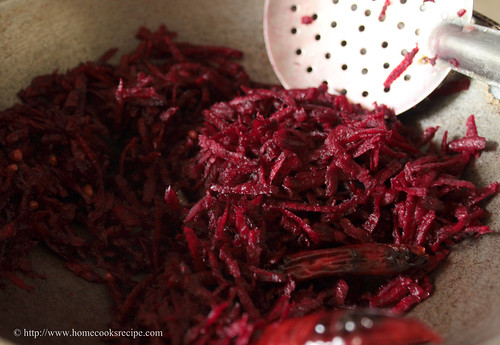
Next add in the grated beetroot to the pan and saute till it becomes soft. it takes at least 5-7 mins for the beetroot to get soft. add little bit of salt, which will help to cook the beets fast.
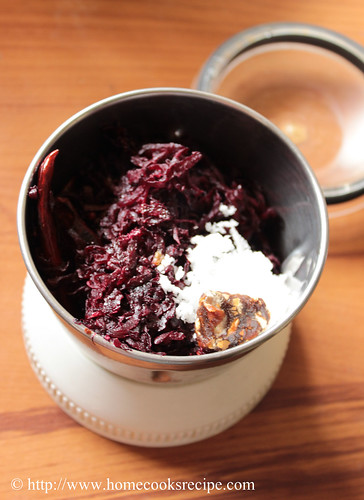
Cool the sauteed beetroot. then transfer it to your mixer jar and add a bit of tamarind and 1 tbsp of grated coconut and grind it coarsely. add 2 or 3 tsp's of water and grind into a fine paste.
Heat a pan, add 2 tsp's of oil and add the grounded beetroot chutney. check for salt and add sufficient salt and saute till the chutney becomes thick. it takes 2 minutes. transfer the chutney to a serving bowl.
Serve the beetroot thuvayal with rice, rasam and appalam.
Notes:
Increase tamarind and red chilly according to your taste. adding 3 red chilly will give you a mild spicy thuvayal.
Adding coconut is optional.
Serve the beetroot thuvayal with rice, rasam and appalam.
Notes:
Increase tamarind and red chilly according to your taste. adding 3 red chilly will give you a mild spicy thuvayal.
Adding coconut is optional.
Tuesday, July 2, 2013
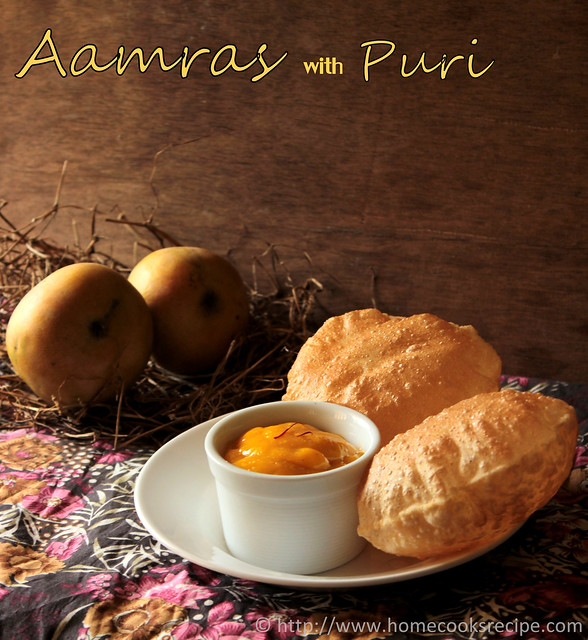
Aamras ~ side dish for puri
posted under
Mango,
Side Dishes For Chapathi
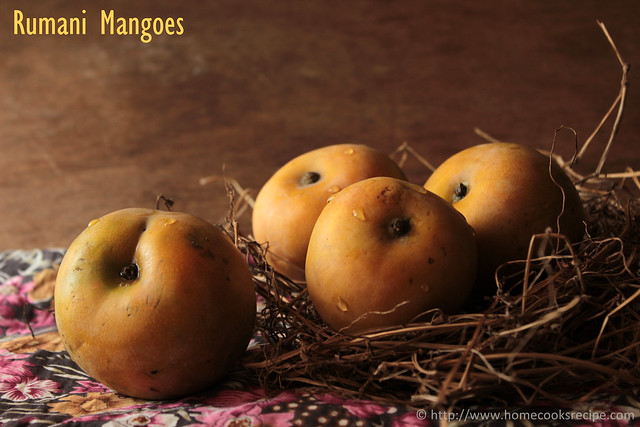
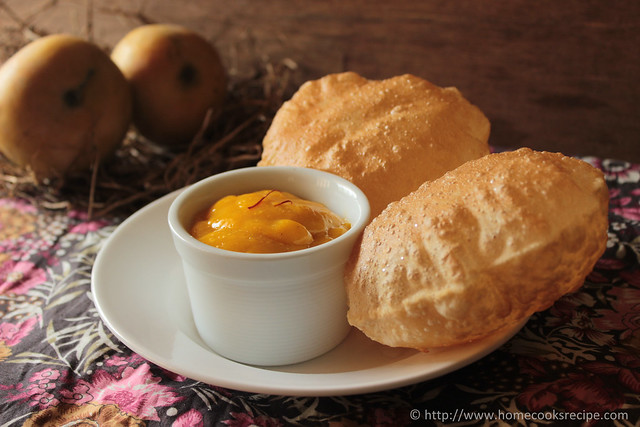
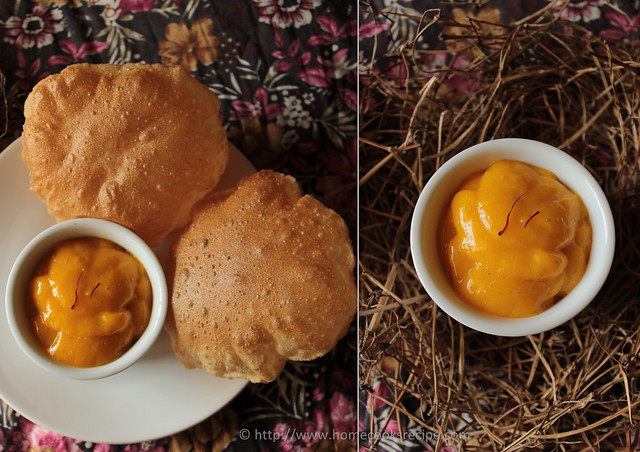
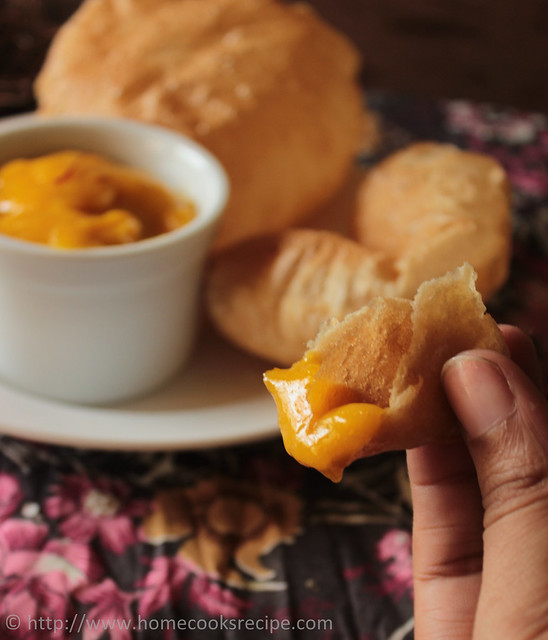
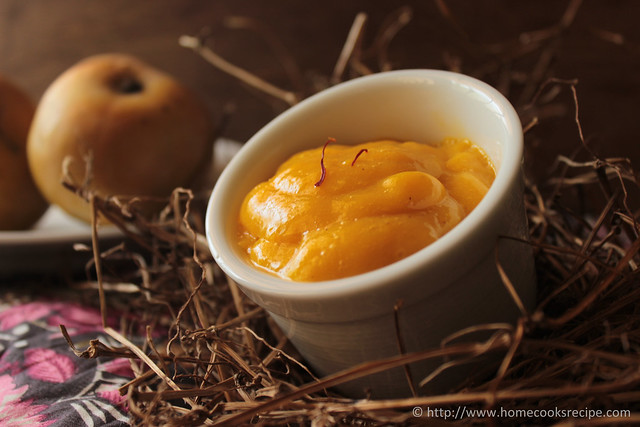
Last week, our friend brought her home grown Rumani mangoes for us. The very next day, i prepared this aamras and enjoyed it to the core with puri. definetly this is the best way to treat mango lovers!
This recipe is easy and simple, it can be said in one line. i clicked lots of pictures out of love for mangoes. kindly bare with me. also i hope mango lovers would enjoy the pictures here!
serves: 2
time taken (to prepare and to finish eating) : less than 10 mins
Ingredients:
1 ripe alphonso or rumani mango
2 pods of cardamom
2 strands of saffron
2 tsp's of sugar
2 tsp's of milk (optional)
Method:
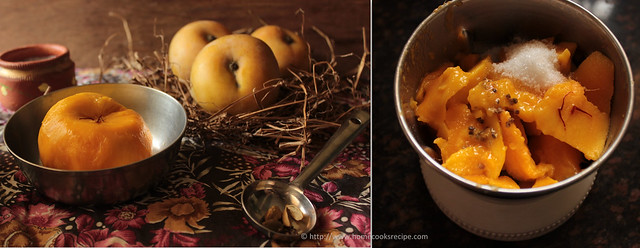
Wash the mango and peel its skin. cut it into pieces. discard the seed.
To your mixie jar, add the chopped mangoes, cardamom seeds, saffron and sugar. add milk, if you wish. i skipped adding milk. grind all together till you get a fine and smooth aamras.
Serve with puri and enjoy the mango delight! if serving later, store in fridge. it tastes even better, when chilled.
Notes:
It is said that, 1/4 tsp of dry ginger powder is added to the aamras in maharashtra.
Use fully ripened mango and i guess only few varieties of mangoes work well for aamras.
Tuesday, June 18, 2013
How to make aloo paratha ~ with step by step pictures
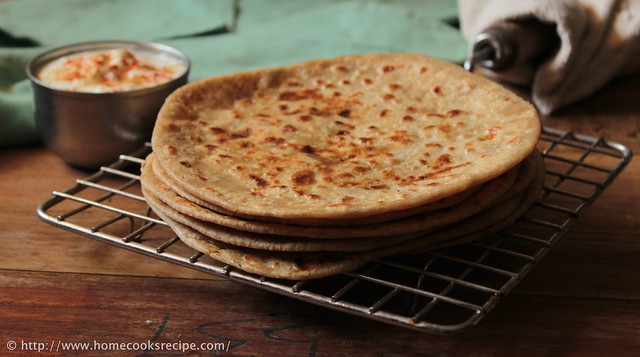
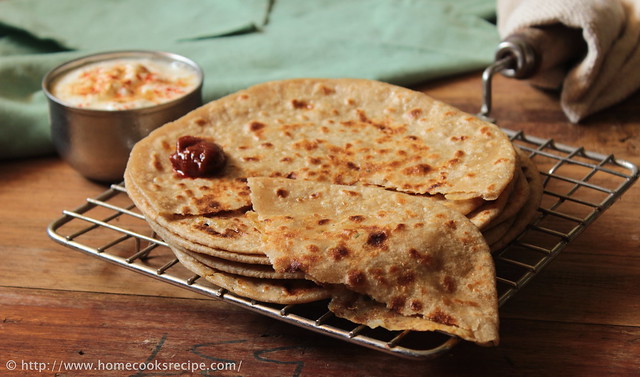
Aloo Paratha, i make it quite often. but never posted here, as i always make it for dinner and as i never click pictures after sunset. today broke the rule and made for lunch. as i was keen on making north indian thali, we had aloo paratha's with khichdi and dal. which turned out into a good and satisfying meal.
Aloo Paratha Recipe
 Prep Time: 20 mins
 Cooking Time: 10 mins
Serves: 2
Recipe Cuisine: Indian
Recipe Type: Bread
makes 6-7 paratha's
Ingredients:Serves: 2
Recipe Cuisine: Indian
Recipe Type: Bread
makes 6-7 paratha's
Atta / Wheat flour - 2 cup's / 400 gms
Potatoes - 3
Oil - 1/2 tsp
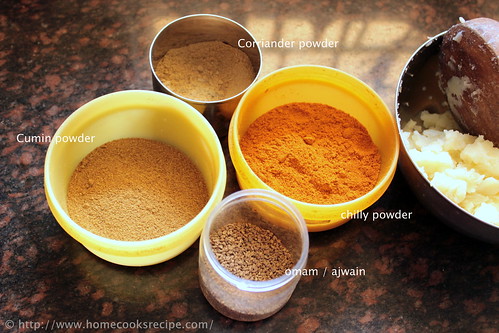
Omam / Ajwain - 1/2 tsp
Corriander powder - 1 tsp
Cumin powder - 1 tsp
Chilly powder / sambhar powder - 1 tsp (or use finely chopped green chilly)
Finely chopped corriander leaves - 2 tsp
Ghee - 2 tsp's (for making paratha's)
Method:
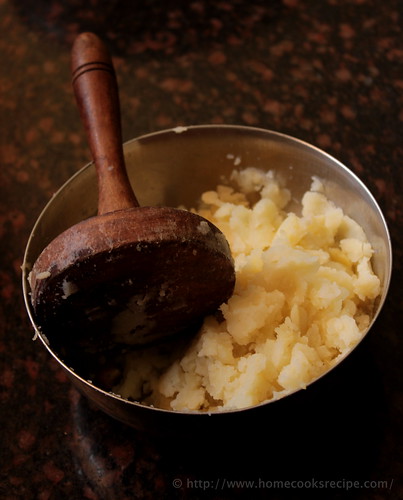
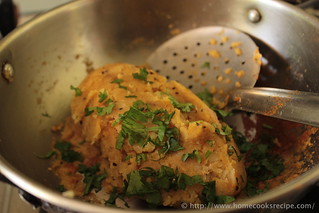
Pressure cook the potatoes for about 5 whistles at least. peel its skin and mash it nicely. let it cool.
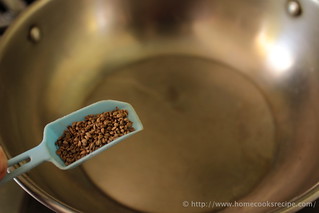
In a pan, heat 1/2 tsp oil, add ajwain seeds.
tip: you may add very finely chopped onions and green chilli for a variation.
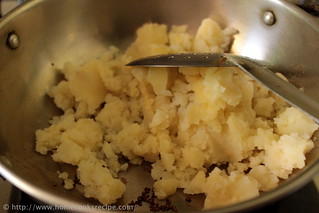
Then add in the mashed potatoes. and mix well with ajwain.
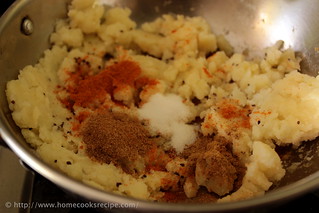
Add corriander powder, cumin powder, chilly powder and salt to taste.
Mix well with the potatoes. add in the chopped corriander leaves and mix all together. it should all come together. let the stuffing cool down.
tip: it is very important to let the aloo stuffing to cool completely. else, you cannot roll the paratha with the hot stuffing in. it peeks out.
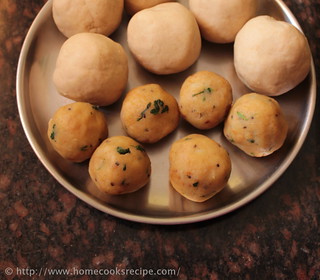
Meanwhile when the stuffing cools down, prepare the atta. In a wide bowl, mix wheat flour and little bit of salt. add water and knead like we knead our poori dough. so do not knead so soft, as we do for phulka's or chapathi's. Divide the dough and shape them into big balls of a tomato size. Also shape the aloo stuffing into small balls that of half a lemon sized ones.
tip: aloo stuffing balls should be half the size of the atta dough balls.
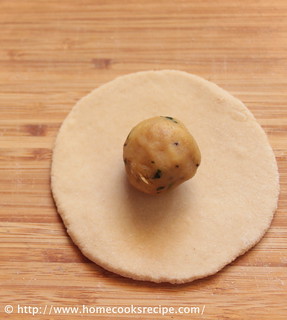
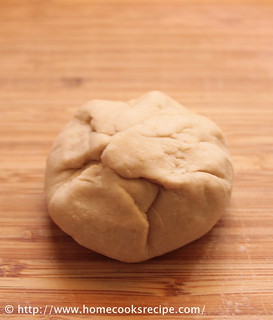
Take a atta dough ball and and roll with rolling pin or flatten on your palm, it should be just of your palm size. flattening evenly is very important. Place a aloo stuffing ball in the centre.
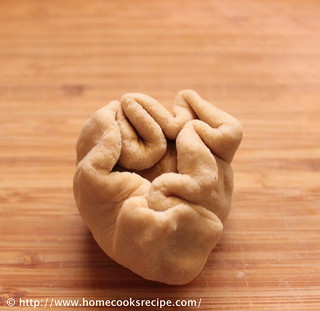
Now bring the corners all together and shape like we do for modak.
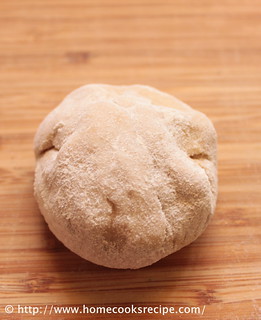
Close the stuffing thoroughly and flatten with your palm with little pressure.
Dust with flour, so that it will be easy for rolling.
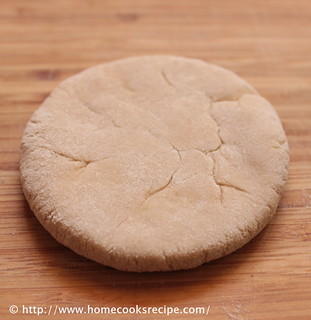
Roll it lightly and never give pressure to the centre part. if needed dust with flour. even, if the stuffing peek's out, do not worry.
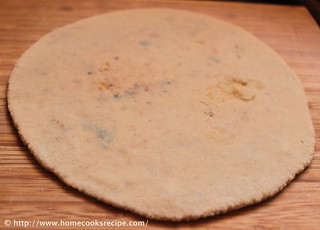
This is how, the fully rolled paratha look like.
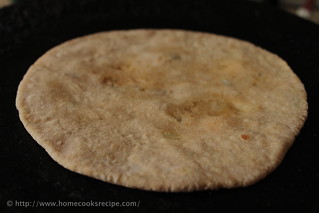
Heat a Griddle/dosa pan, put the rolled paratha and wait for it to get cooked.
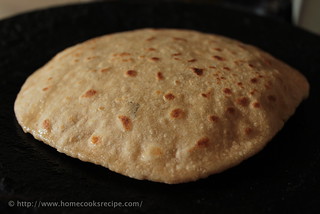
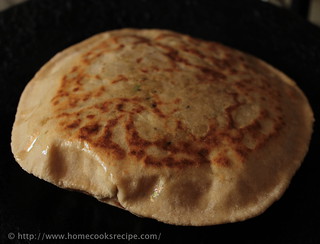
When the paratha puff's up, apply ghee on both sides of the paratha and cook, till you find brown spots.
Transfer the paratha's to a serving plate. if intended to store and eat later, then wrap them up in aluminium foil.

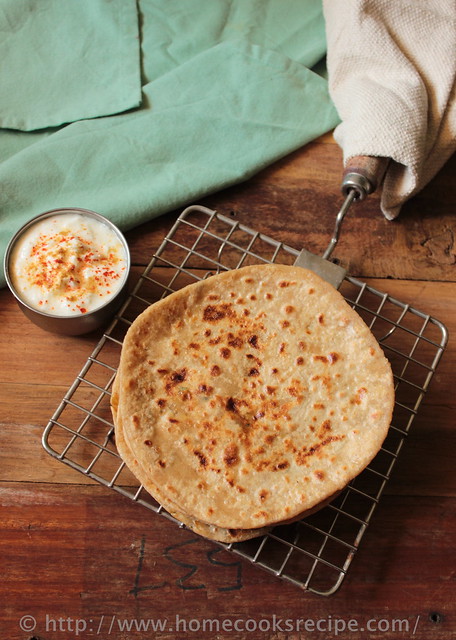
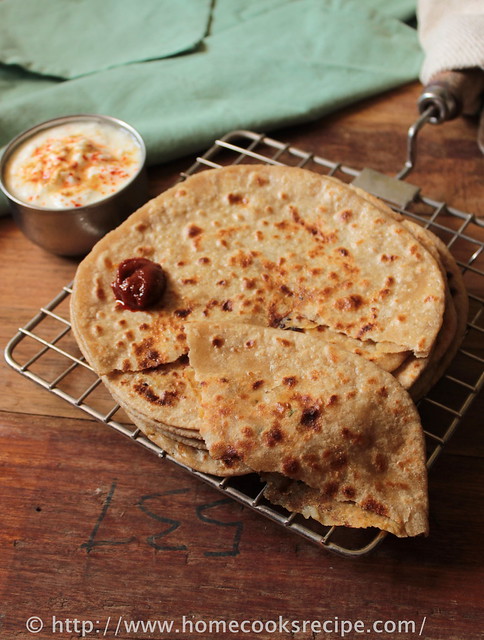
Serve aloo paratha's hot with curd and pickle. sprinkle chilly powder and cumin powder over curd before serving.
Notes:
Do not try to use hot aloo stuffing before rolling.
While rolling, if little bit of stuffing sticks to your rolling pin, then scrap it off, dust some flour and then start to roll. do not keep the rolled paratha in the rolling surface, it furthur sticks. so as soon as you roll, put it on griddle.
Today i cooked lunch leisurely. from next week, i have to pack lunch for my son. i do not know, how am i going to manage cook so early. also i did not train my son to eat alone all these days. it is going to be a different learning phase of life for both of us!
Subscribe to:
Posts (Atom)

